Cashless Health Insurance Claim Checklist India
Cashless claim checklist: pre-auth steps, discharge documents, and timelines. 80% of cashless claims succeed with proper documentation.

Written by Harsh SoniUpdated nyvo insurance Services LLP, IRDAI Corporate Agent (Composite) CA1085Salaried advisors, no commission-based ranking
What is a Cashless Health Insurance Claim and How Does the Process Work?
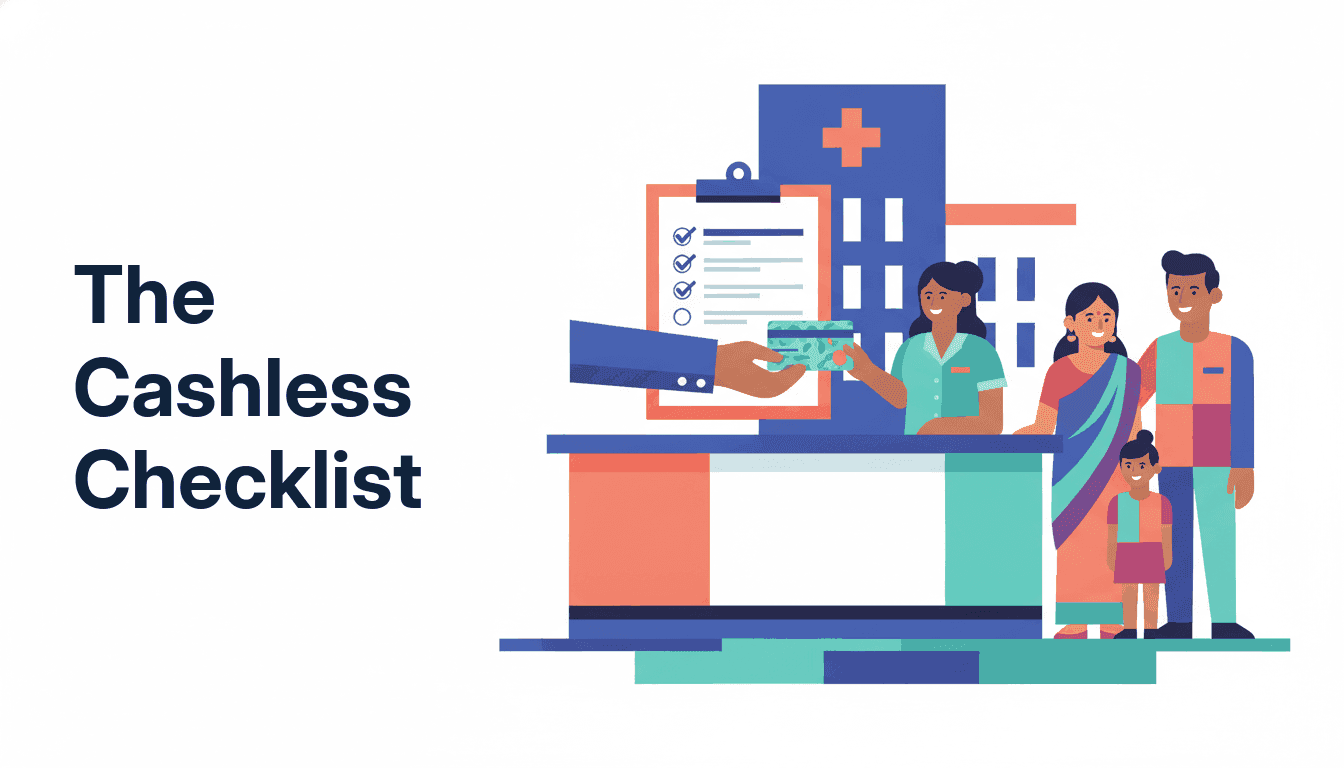
A cashless health insurance claim is a process where the insurance company settles your hospital bill directly with the hospital (through a TPA or in-house team), so you don't need to pay upfront and then wait for reimbursement. The process involves: (1) confirming the hospital is in your insurer's network, (2) submitting a pre-authorization (pre-auth) request at admission, (3) receiving approval for a specific amount, and (4) collecting proper discharge documents.
According to industry data, approximately 80% of cashless claims succeed when documentation is complete and submitted on time. IRDAI requires the pre-authorisation decision within 1 hour of the request, for a planned or an emergency admission, and final authorisation at discharge within 3 hours (IRDAI Master Circular on Health Insurance Business, 29 May 2024); final settlement follows within 15–30 days of discharge. If the hospital tells you to expect half a day, that is practice, not the rule, and the delay is escalatable. The most common reasons for cashless claim failures are: missing or insufficient clinical documentation (causing ~30% of denials), room category mismatch (triggering proportionate deductions in ~25% of claims), and waiting period/exclusion violations. Having a structured checklist before, during, and after hospitalization dramatically improves outcomes.
Back to: Health insurance claims guide
Quick checklist
- Goal: ensure hospital submits pre-auth request and receives approval before starting treatment.
- Avoid: treating without pre-authorization; hospital may not get insurer approval, you're liable.
- Prefer: confirming approval amount and exclusions with insurer before discharge.
- Claims-first: obtain discharge summary and itemized bill; match insurer approval with actual charges.
Printable checklist (save this)
| Stage | What to do | Why it matters |
|---|---|---|
| Before admission | Confirm the hospital is network for your insurer/TPA | Avoid “network mismatch” surprises |
| At admission | Share e-card + ID; request cashless + pre-auth | Pre-auth is the start of approval |
| During hospitalization | Track approval amount; request enhancement if estimate increases | Prevent “approved amount too low” |
| At discharge | Pay non-payables/co-pay/deductibles; collect final documents | Deductions are common; documents protect you |
| After discharge | Keep a folder; raise disputes quickly | Faster corrections, fewer delays |
Cashless claim checklist: step-by-step
A) Before you go to the hospital (15 minutes)
- Keep your policy number / e-card, insurer/TPA helpline, and nominee details handy
- Check network status on insurer/TPA website/app (screenshots help)
- If planned admission: inform insurer/TPA in advance (if required)
Related: Network hospitals & “cashless” myths
B) At admission (most important)
- Go to the insurance desk / TPA desk (not just billing)
- Submit: e-card + photo ID + patient KYC (as asked)
- Ensure the hospital submits pre-authorization with:
- Diagnosis
- Proposed treatment/procedure
- Estimated cost breakup
- Doctor’s notes + investigation reports
- Confirm the room category is eligible as per policy
Related: Room rent limit (hidden deductions)
C) Track pre-auth (and handle partial approvals)
- Ask for the approved amount + remarks (written/SMS/email)
- If approved amount is low, ask hospital to clarify and re-submit with stronger notes
- If denied, act fast (see below)
Guide: Pre-auth denied: what to do
D) During stay (avoid last-minute stress)
- If treatment plan changes or costs increase, request enhancement early
- Keep copies/photos of interim reports and doctor notes
E) At discharge (collect the “settlement pack”)
Collect and keep copies:
- Discharge summary
- Final bill + itemized bill
- Doctor prescriptions
- Pharmacy bills + stickers
- Diagnostic reports
- Implant/IOL details (if applicable)
- Pre-auth approval + enhancement approvals
- Cashless settlement letter (if issued)
F) After discharge (close the loop)
- Check for deductions: room rent proportionate, non-medicals, exclusions
- If something seems wrong, raise a query with insurer/TPA quickly
Related: Claim rejection reasons (and fixes)
What you will still pay in a cashless claim (normal)
- Deductible (if any)
- Co-pay percentage (if applicable)
- Non-payable items (consumables/non-medicals)
- Amount beyond sum insured
Learn: Co-pay in health insurance
FAQs
What if the hospital is “network” but says cashless isn’t available?
Ask for the reason and call insurer/TPA. Sometimes it’s a system issue or policy-specific restriction.
How long does pre-auth take?
It varies (often a few hours). Emergencies can still be processed, but follow up actively.
What’s “enhancement” in cashless claims?
A request to increase the approved amount when the estimated bill rises.
What if my pre-auth is approved for less than the estimate?
Proceed if medically necessary, but push for enhancement and keep documents; you may need reimbursement for the balance.
Can I switch from cashless to reimbursement later?
Yes, in many cases. Collect all documents properly.
Will my room choice affect the rest of my claim?
Partly. Take a room above your policy's room-rent limit and the insurer can cut the bill in the same ratio (room rent, nursing, surgeon and OT fees). Medicines, implants and diagnostic tests are paid in full: IRDAI's norms on associated medical expenses (11 June 2020) keep them out of the proportionate deduction.
What if insurer/TPA delays unreasonably?
Escalate through grievance. Template here: Insurer grievance process + template
Should I record calls or keep written proof?
Keep emails/SMS and request written remarks when possible.
Disclaimer: Educational content. Actual process varies by insurer/TPA and hospital.
Related Guides
Our editorial principles
- Salaried advisors, not commission-linked: we focus on clarity and suitability, not product hype.
- No spam: we don't sell your data; we keep advice simple and actionable.
- Claims-first: policy features are evaluated by how they behave during claims.
- Education-first: this content is for informational purposes only.

16+ years in financial services. Former investment banker at Bank of America, Kotak Investment Banking, and SBICaps, and ex-CFO of slice. Founder of nyvo and Principal Officer – IRDAI Certified.